Elegant Twisted Updo for Special Occasions

What You'll Need
- Tail comb
- Hair brush
- Bobby pins (lots of them!)
- Hair elastics
- Texturizing spray
- Medium-hold hairspray
- Curling iron (optional)
- Hair donut or rat (optional)
This elegant twisted updo combines classic techniques with modern styling to create a sophisticated look that’s perfect for weddings, galas, or any special occasion. The style features twisted sections that create beautiful dimension and interest while keeping hair securely up and away from the face. While this style works best on medium to long hair, it can be adapted for shorter lengths with the addition of extensions or a smaller final shape.
Step-by-Step Instructions
Step 1: Prep Your Hair
Proper preparation is crucial for a long-lasting updo:
- If possible, don’t wash your hair on the day you’ll be styling - second-day hair has more grip.
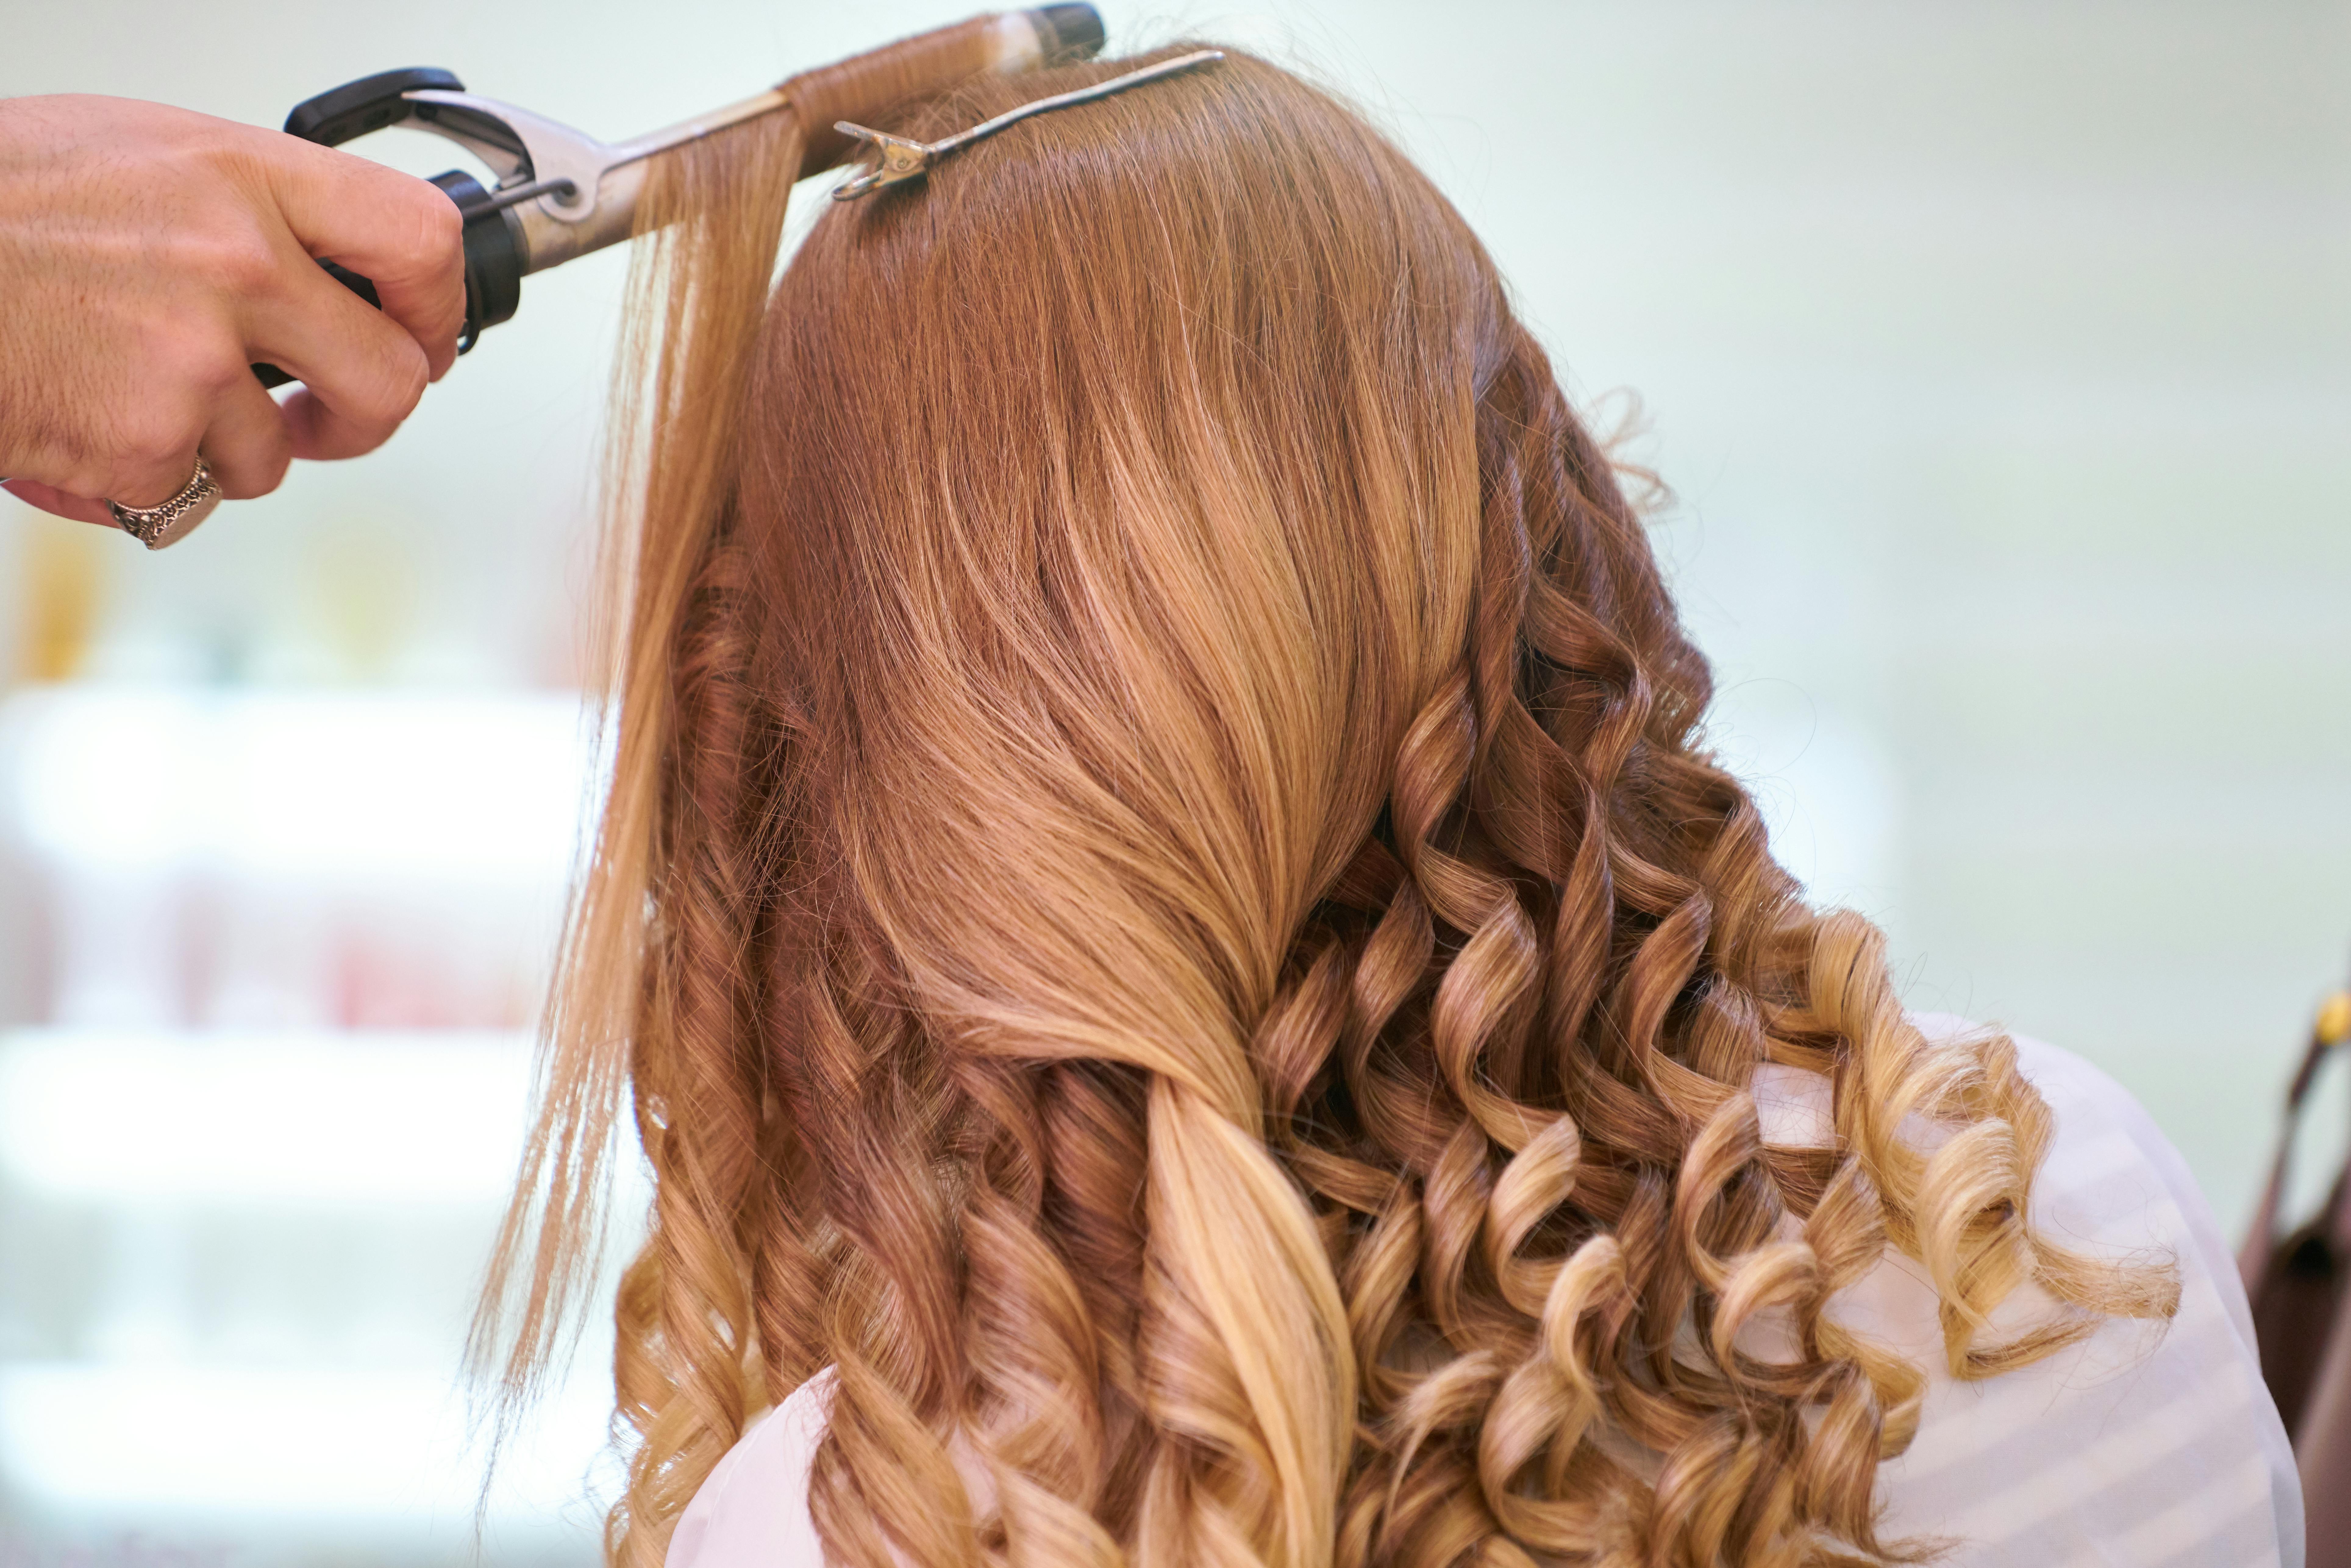
- Apply heat protectant and curl your entire head with a 1-inch curling iron to create texture.
- Once curls have cooled, spray generously with texturizing spray and gently brush through with a paddle brush to create unified texture.
- Section your hair horizontally, creating a clean division from ear to ear across the back of your head. Clip the top section up and out of the way temporarily.
Step 2: Create Your Foundation
The base of your updo provides structure for the entire style:
- Gather the bottom section of hair at the center back of your head.
- Twist this section tightly, coiling it into a small bun.
- Secure with bobby pins, inserting them in different directions to create a stable base.
- If your hair is fine or you want more volume, use a small hair donut or rat under this section.
Step 3: Create Side Twists
Now work with the side sections to build your updo:
- Release the top section and divide it into three parts: left side, right side, and crown.
- Starting with the left section, gently tease at the roots for volume.
- Twist this section away from your face, keeping it relatively tight near the scalp.
- Continue twisting until you reach the end of the section.
- Wrap this twisted section around the base bun you created, pinning as you go.
- Repeat the same process with the right section, again twisting away from your face.
Step 4: Style the Crown Section
The top section will complete your updo:
- Gently tease the crown section at the roots for height and volume.
- Smooth the surface with a brush while maintaining the volume underneath.
- Twist this section loosely and drape it over the back of your updo.
- Tuck the ends under and pin securely.
- Adjust the crown section to create a pleasing shape - this can be more voluminous for a dramatic look or flatter for a sleeker style.
Step 5: Create Dimension and Interest
Add detail to make your updo unique:
- Identify any flat or plain areas in your updo.
- Gently pull small sections to create texture and dimension.
- For areas that need more structure, add small twisted sections and pin them in place.
- Create small “loops” with the ends of your hair for additional texture if desired.
Step 6: Secure and Set
Ensure your updo will last all day or night:
- Check your entire updo for loose sections and add more pins where needed.
- Gently tug on sections to test security - anything that moves needs additional pinning.
- Cross bobby pins in an “X” formation in areas that feel less secure.
- Spray the entire style with medium-hold hairspray, holding the can 10-12 inches away from your head.
- Let the spray dry, then add a final layer of hairspray for extra hold.
Step 7: Final Touches
Perfect your updo with these finishing techniques:
- Use the end of a tail comb to gently adjust any sections that need refinement.
- Smooth any flyaways with a tiny amount of pomade or anti-frizz serum.
- Add decorative pins, fresh flowers, or a hair accessory if desired.
- For long-lasting hold, mist with a fine setting spray as a final step.
You’ve created a stunning twisted updo worthy of any special occasion! Remember that practice makes perfect with advanced styles like this one.
Pro Tips
- Day-old hair works best for this style - freshly washed hair can be too slippery.
- If your hair is very clean, use plenty of texturizing spray for grip.
- Prep hair with loose curls for extra texture and to help the style hold better.
- Insert bobby pins with the wavy side against your scalp for maximum hold.
- Cross bobby pins in an "X" formation for sections that need extra security.
Style Variations
- Lower placement at the nape for a more relaxed, romantic feel.
- Add fresh flowers or decorative pins for wedding styling.
- Leave a few face-framing tendrils for a softer look.
- Create a more textured, "undone" version by purposely loosening sections.